I am a student of Python and I will try to present a step by step guide about ‘How To Use Python With Visual Studio Code?’. I will be listing down the steps I found and followed to setup Visual Studio Code to debug and run python code. If you think I missed something please do let me know in the comments section.
Step 1: Install Python
It sounds very obvious to many but, for those who are new to Python as well as Visual Studio Code I would like to inform you that Visual Studio Code can be used to debug and run Python code. But, ‘Visual Studio Code doesn’t come with Python‘. So, we will have to install python separately. Please use this official Python download link to get the latest Python. (There is big debate whether to use Python 2.x or 3.x? I don’t want to get into it for now. Just use the latest version of Python. That’s what sane people say!). Python installation is very simple i.e. Double click!
Tips :
- I prefer to use custom path for Python installation e.g. “C:\Python\” because the default path C:\Users\<user name>\AppData etc. etc. is not easy to find on the machine.
- If you are new to Python do not touch other default options.
- Python 3.6+ has a new option at the end that can disable MAX_PATH limit. Disable that limitation. It’s good.
Python Installation
Step 2 : Install Visual Studio Code
Now another (obviously) important step is to install Visual Studio Code. Visual Studio Code is a Microsft’s free Code editor. You can visit it’s official website for further details. But, in short it is Visual Studio without any compiler. It’s only a code editor. Users have to install plugins in order to perform certain tasks which are particular to the programming language. Visit it’s official download page, download the latest version and install. You can choose 64x or 32x as per your choice.
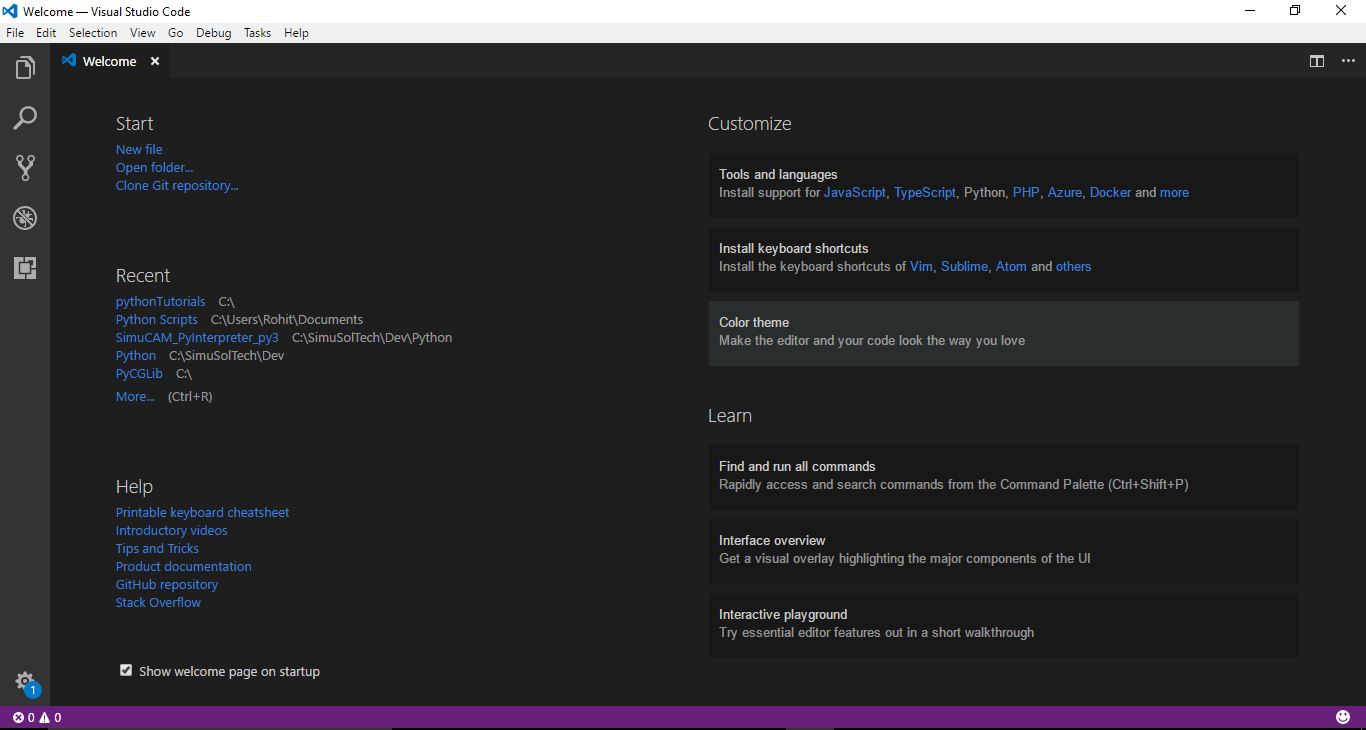
Visual Studio Code Welcome Page
Tip: You can choose to select auto installation for supporting tools for Python from Welcome page. (Please see at top right of the Welcome page) Or you can install the extensions Individually as I will mention in Step 3 below.
Step 3: Install Extensions For Python
Click on the Square button on left button panel. It is is the ‘Extensions Button’. Natural question is ‘Why do we need extensions?’ Answer is simple, ‘Because Visual Studio Code is just a Code Editor and is not built to compile any code as such. So, to help coupling the compiler and Visual Studio Code, we need Extensions’
Please install the following Extensions as shown in the picture below. (Use search box at the top for finding these Extensions). These extensions are more than sufficient to debug and run a Python code
- Python
- Python for VSCode
- MagicPython
- Python Extended

Python Extensions for Visual Studio Code
Step 4: Visual Studio Code Settings
Visual Studio Code runs in folders. So using File->New/Open Folder choose the directory you want put your code in. For this tutorial I have chosen an empty directory called ‘C:\pythonTutorials’
VS Code Choose Directory
Now using Ctrl+Shift+P (shortcut for Command Palette) type launch. Then select Debug: Open Launch.json then choose the environment i.e. Python in our case. (Launch. json is a settings file about launching the compiler and runtime debug settings) Don’t worry too much about it for now. A launch.jason file will be created in the directory named .vscode in you current your directory.
Create Launch.json for Python in Visual Studio Code
As you will observe in laun.json file there are a variety of different setting related to Python. Let’s ignore all of them for now except one the pythonpath. Pythonpath really defines which Python interpreter to launch. Nothing else to be done with launch.json now.
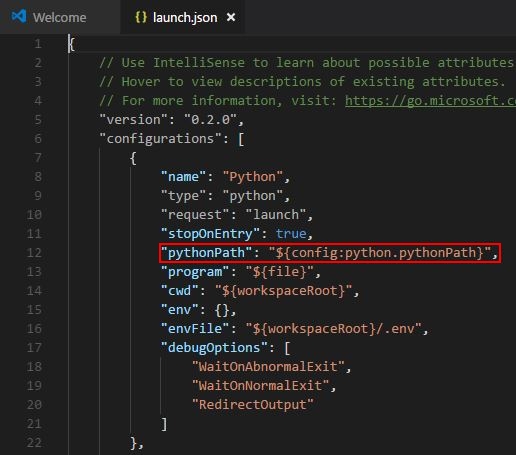
Pythonpath in launch.json
Next we will have to define the correct interpreter or else the debugger will try to ‘Launch’ the python interpreter from System’s PATH. I prefer not to put Python in system PATH during installation so that I can control which Python version can be used to debug given code easily. To set ‘Which python interpreter executable to be set to debug the given code?‘ again go to Command Paletter (Ctrl+Shift+P) and type settings. Then Select ‘Open Workspace Settings‘. It will create a settings.json file in .vscode directory. This json file contains workspace (Folder/Directory in our case) specific settings. The settings in this file will override the default global settings.
Now, in this settings.json add a new settings named ‘python.pythonpath : “<executable path for python>”‘

Adding Pythonpath in Settings.json
Tip: Beware that json fomat needs you to put forward slash ‘/’ instead of backward slash ‘\’ while defining a directory path.
Step 5: Get Set Go..!
We are done with adding all the necessary settings and Extensions to debug a python code. Now, the only thing remaining is to write a Python code and debug it.
I created a Hello World (No surprises here I hope!) file called helloworld.py with a simple print command. Then I used the ‘Debug Button’on the left side to debug my code. ‘Debug Console’ at the bottom will show my print result. Please see following video to know how it is done.

Debug Python Hello World in Visual Studio Code
BINGO!! We are done debugging our firs Python code in Visual Studio Code!
Thank you very much for reading this tutorial. I have tried my best to compile my findings about this topic. If you think I missed something please write it in Comments section. Do remember this is just the beginning. Many more tutorials are in pipeline!
Thank you for your tutorial. I was fighting with VS Code for two days, now it works. Thanks!
Thank you Matthias !